1. Before the stone arrives
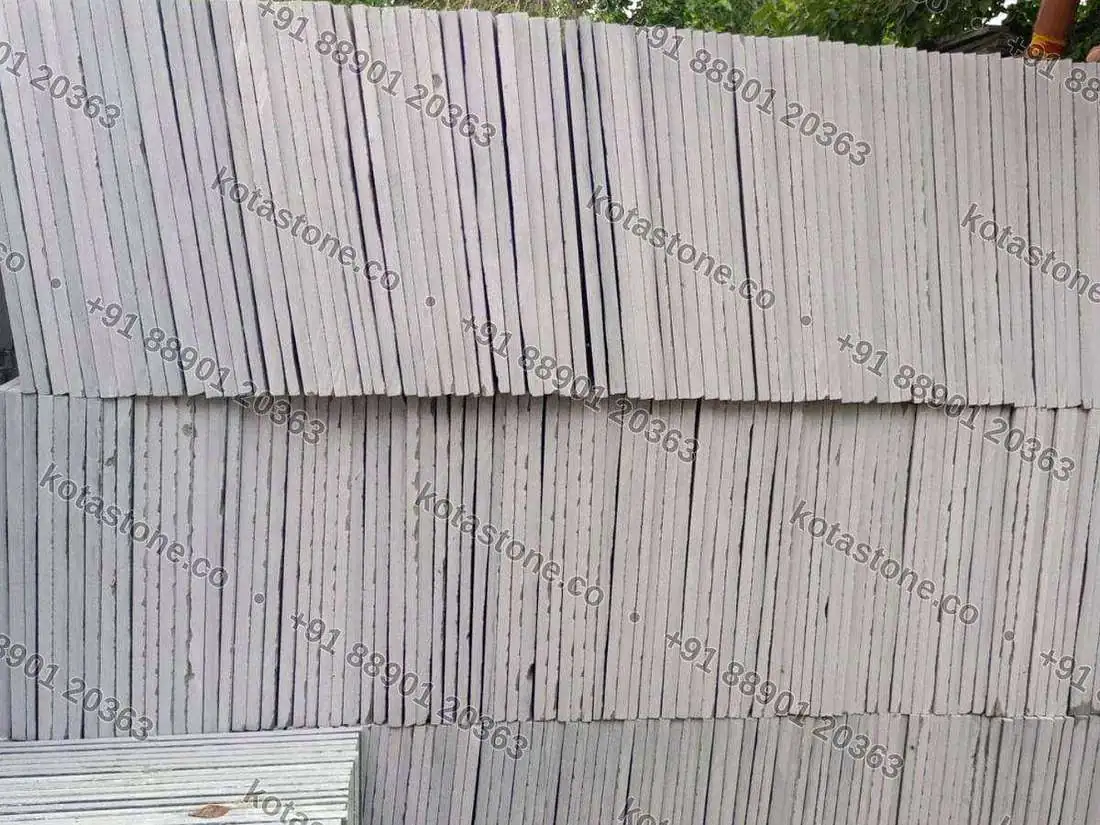
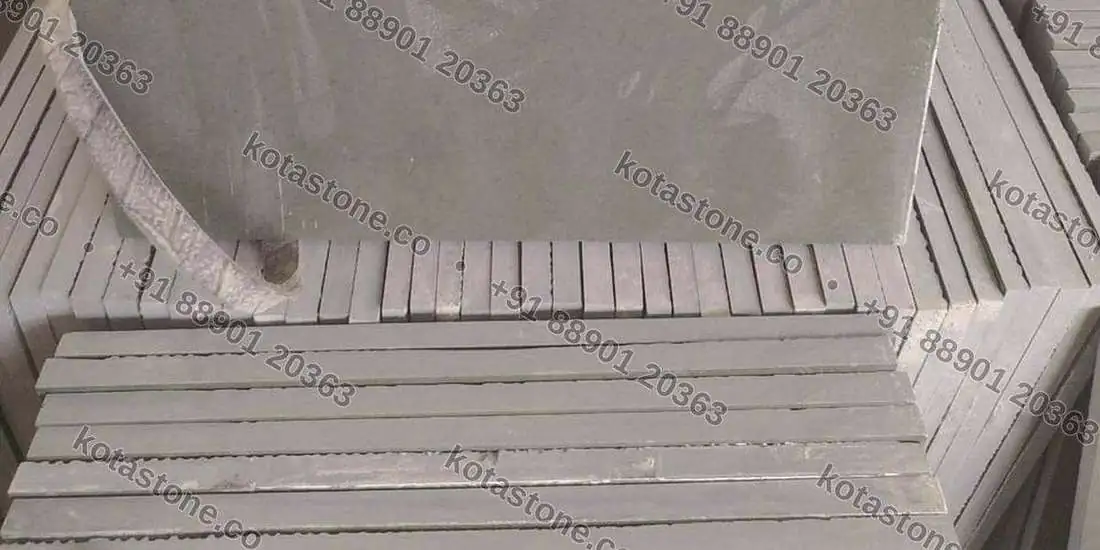
Check the consignment on delivery, not after the mason has laid half of it. Confirm the thickness with a vernier at several points, look at the colour spread across multiple pallets, and check for corner damage. Stack slabs on edge on timber battens, never flat in a tall pile, and never directly on wet ground.
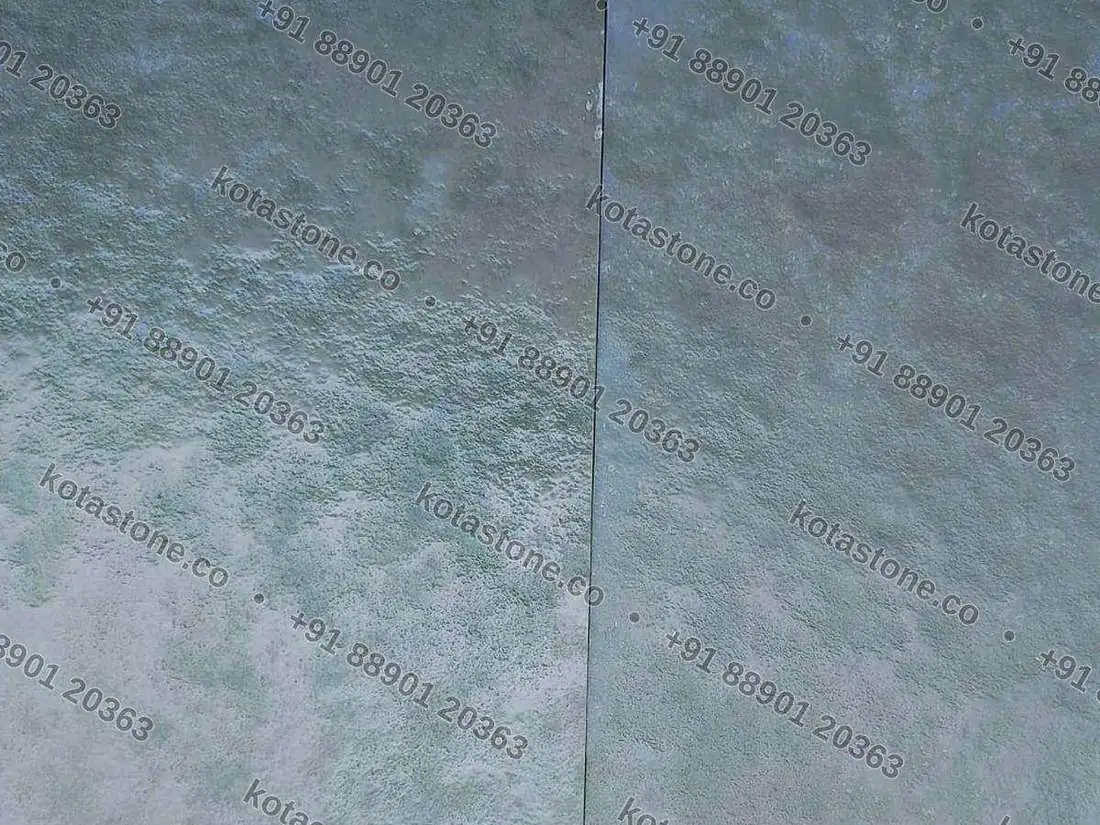
Mix from at least three or four pallets as you lay. Stone is a natural material with tonal movement, and taking it pallet by pallet will give you visible bands across the finished floor. This one habit prevents most appearance complaints.
2. Substrate
The base must be structurally sound, clean and reasonably level. On a new slab, allow the concrete its full curing time — laying stone over green concrete transfers shrinkage cracking straight into the floor. Remove laitance, oil and dust. Dampen the surface before bedding so it does not pull water out of the mortar.
Set out your levels and datum first, and confirm the finished floor level accounts for the stone thickness plus the bed. Establish fall for external areas: 1 in 80 to 1 in 100 towards the drainage point.
3. The mortar bed
Traditional practice is a 20–40 mm bed of 1:4 to 1:6 cement–sand mortar, semi-dry, screeded to level. Lay a working area at a time — roughly what the mason can cover before the mortar starts to set.
Butter the back of each slab with a cement slurry immediately before setting it. This is the step that gets skipped on rushed jobs, and it is the step that determines whether the slab bonds or becomes hollow. Tap down with a rubber mallet, checking level continuously against a straightedge and the string line.
For calibrated stone on a flat substrate you can use a thin-bed polymer-modified adhesive instead, with a notched trowel and full back-buttering. Follow the adhesive manufacturer's open time; it is shorter than most sites assume in Indian summer conditions.
4. Joints
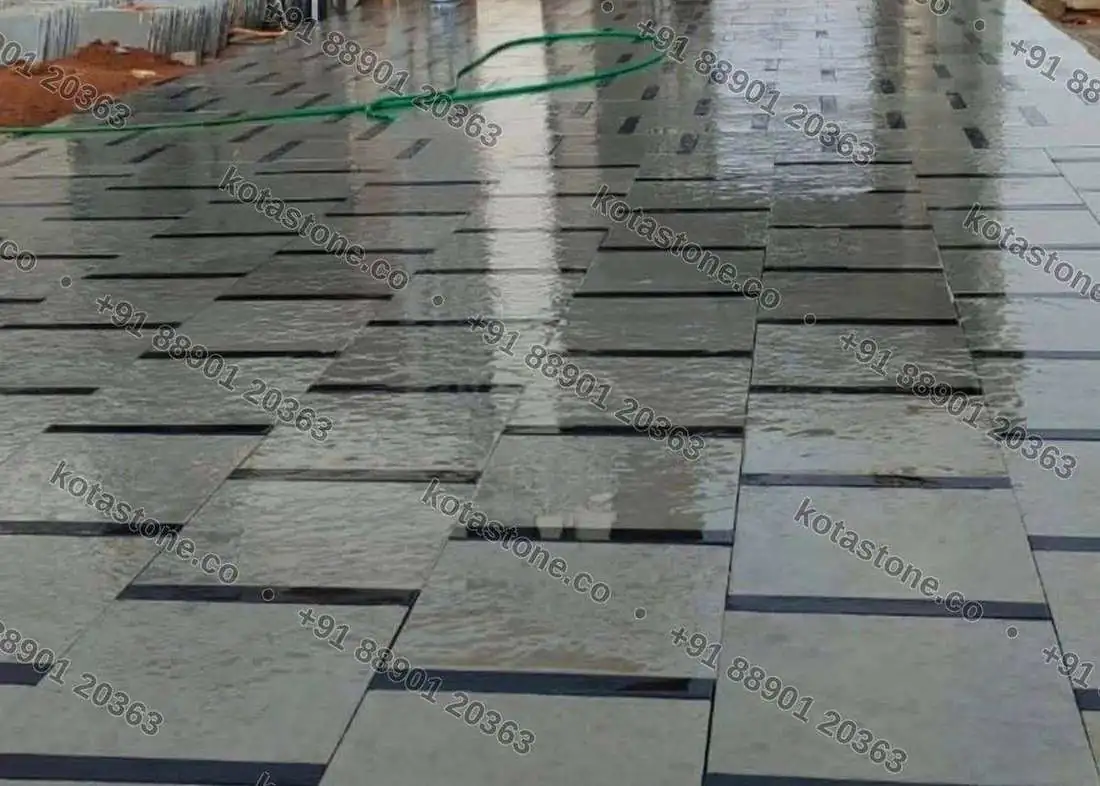
Interior floors are commonly laid near butt-jointed, 1–2 mm, and grouted with a fine cement or matched grout. External paving needs wider joints — 3–6 mm — to accommodate thermal movement, filled with a flexible pointing mortar or, for permeable landscape work, with sharp sand.
Put movement joints in at the perimeter of every room, at door thresholds, over structural joints, and at roughly 5–6 m centres in large external fields. Skipping movement joints is the second most common cause of cracked stone floors, after inadequate bedding.
5. Curing
Keep foot traffic off for at least 48–72 hours, and keep heavy loading and trolleys off for a week. Cure with light water sprinkling for three to seven days in hot weather. Do not let the bed dry out too fast — that is what causes the bond to fail before the floor has ever been used.
6. Grinding and first polish
If you are polishing in situ rather than laying pre-polished slabs, allow the floor to cure fully first — a minimum of two weeks, longer if the weather is cool.
- Rough grinding with a coarse carborundum stone to take out lippage and level the surface across joints.
- Filling — make good any pinholes and joint gaps with a colour-matched cement or resin slurry, and let it cure.
- Intermediate grinding at progressively finer grits, washing the slurry off completely between passes.
- Final polish with fine grit and a polishing compound to the required sheen.
- Clean and seal once fully dry. A penetrating impregnating sealer is worth the money on Kota, particularly in kitchens and wet areas.
The mistakes that cost the most
Laying over uncured concrete. Skipping the back-buttering slurry. No movement joints. Laying pallet by pallet instead of mixing. Acid-washing the finished floor to "clean" it — acid etches limestone permanently and no amount of polishing fully recovers it.
7. Handover
Protect the finished floor for the remainder of the build. Hardboard or thick corrugated sheet, taped at the joints — not plastic sheet, which traps moisture. Tell the client, in writing, to use pH-neutral cleaners only. Most floor damage on new projects happens after the stone is laid and before the building is occupied.
Published 30 January 2026 by Agrawal Stone Suppliers, Ramganjmandi, Kota. Every stone we write about passes through our own yard — if something here does not match what you are seeing on site, call us and we will talk it through.